Key Takeaway
T1-11 siding is grooved engineered-wood panel siding made from plywood or OSB that typically lasts 20 to 30 years when properly maintained. Once rot, swelling, delamination, or repeated bottom-edge damage appear across multiple walls, replacement makes more sense than patching. For Northern California homeowners in fire-prone zones, switching from combustible T1-11 to noncombustible fiber cement siding is also a fire-safety decision.
T1 11 is grooved engineered-wood panel siding, usually made from plywood or oriented strand board, designed to give a house the vertical board-and-batten look. In some cases it doubles as structural sheathing. If you’ve noticed these tall grooved panels on your house, garage, or an older addition and you’re wondering whether they’re still doing their job, the honest answer is: it depends on their condition. T1 11 siding isn’t automatically a failure. When it’s sealed, flashed, finished, and maintained the way it should be, it can hold up for years. But once rot, swelling, delamination, soft panels, failing seams, or repeated bottom-edge damage enter the picture (and for Northern California homeowners, once wildfire exposure becomes part of the decision), replacement often makes more sense than another patch. This guide takes a closer look at how to identify T1 11, why it fails, a practical repair-vs-replace framework, and what materials to replace it with.
T1 11 Siding: What It Is and When to Replace It
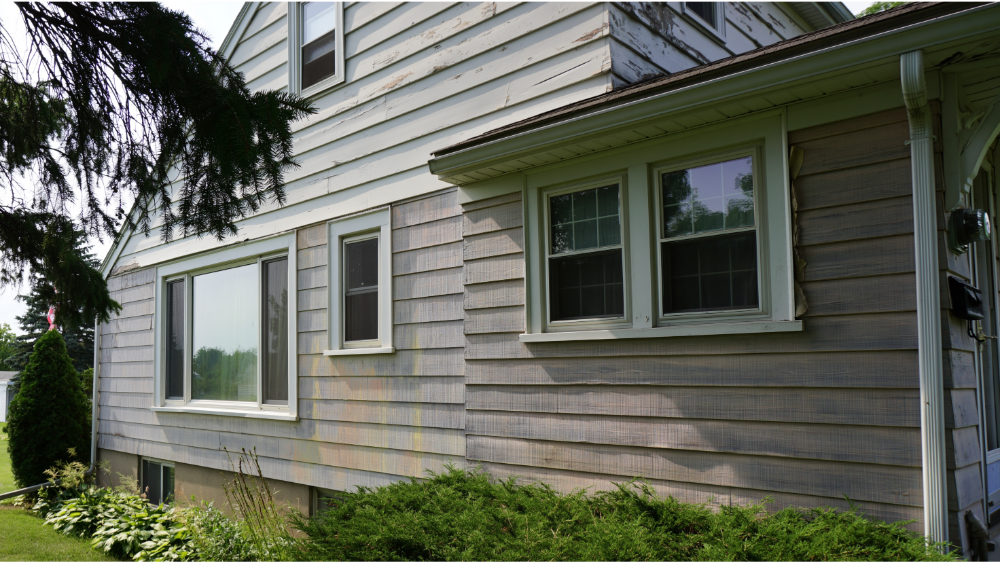
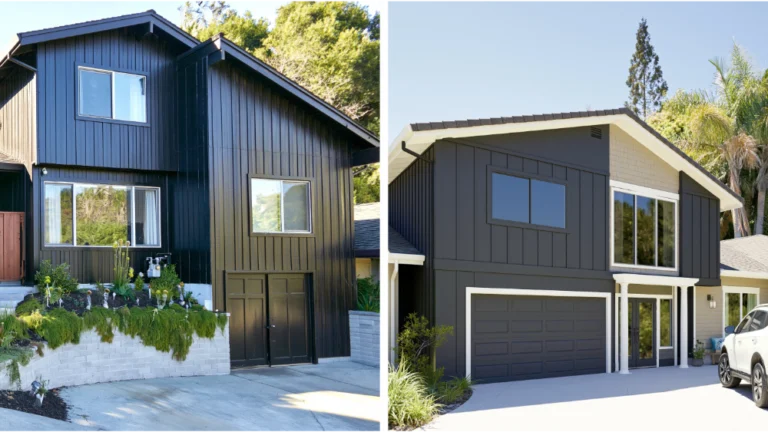
T1 11 is a style of grooved engineered-wood siding, not a single fixed material. The grooves run vertically at regular spacing, which is what gives the panels their board-and-batten appearance without the labor of installing individual boards and battens. According to APA (The Engineered Wood Association), APA Rated Siding covers several configurations including T1 11, reverse board and batten, and channel groove. These are structural products, meaning they can be installed directly to studs or over separate sheathing.
Panels typically come in 4-foot by 8-foot sheets, which is a fast way to tell T1 11 apart from lap siding: you’re looking at full-height sheets, not stacked planks. Because a single board covers so much wall at once, T1 11 became a popular choice for builders and contractors who wanted to close in a wall quickly, which is part of why it shows up so often on sheds, garages, and mid-century additions.
Plywood vs. OSB T1 11
The “T1 11” name describes the grooved siding category, so the materials actually behind the finish can vary. Plywood T1 11 is made from thin wood veneers glued in layers. OSB, or oriented strand board panels, are made from compressed wood strands bonded with adhesives. Both create the same look from the curb, but they behave a little differently when exposed to moisture over time. Plywood tends to hold its shape better at cut edges, while oriented strand board can swell and crumble faster once water gets past the finish, especially at an unsealed bottom edge.
Here’s the part that matters for the rest of this article: because T1 11 is wood, its lifespan comes down to how well it’s finished and how well water is kept away from it. Good sealing and moisture management are what separate a panel that lasts from one that rots. That single fact drives almost every failure point below, and it’s the same reason a proper paint or stain schedule is not optional on this kind of siding. Engineered panels also add shear strength to a wall, which is one reason they were often installed as both siding and bracing at once.
How to Tell If Your House Has T1 11 Siding
You can usually self-diagnose T1 11 from a few feet away. Look for these clues:
- Vertical grooves running top to bottom at even spacing, commonly 4 inches or 8 inches on-center.
- Large sheet panels rather than individual lap boards. If it’s one continuous surface with grooves cut into it, that’s the tell.
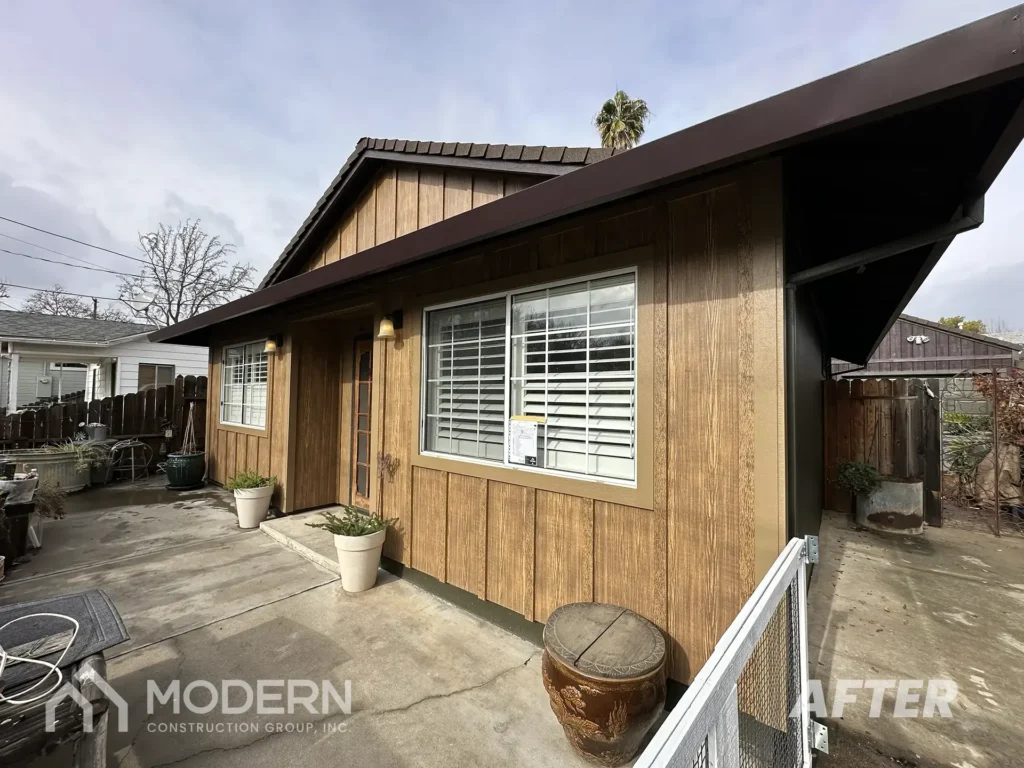
- A rough-sawn or wood-grain texture on the face, which is typical of the classic rustic finish. Some panels were factory primed or came smooth for a painted look.
- Panel thickness that varies. Manufacturer specs list common performance categories like 11/32 and 19/32 (actual thicknesses around 0.328 in. and 0.578 in.), so don’t assume every board is identical.
- Trim boards and battens at the seams. Many installs use vertical trim strips over panel joints, so check whether that trim is caulked and painted or splitting and open.
- Common locations: older homes, room additions, detached garages, sheds, and cabins, where T1 11 was a popular, straightforward choice.
If you’re seeing grooved sheets rather than overlapping boards, you’re almost certainly looking at T1 11 siding or a close cousin in the same engineered-wood family.
Why T1 11 Siding Fails
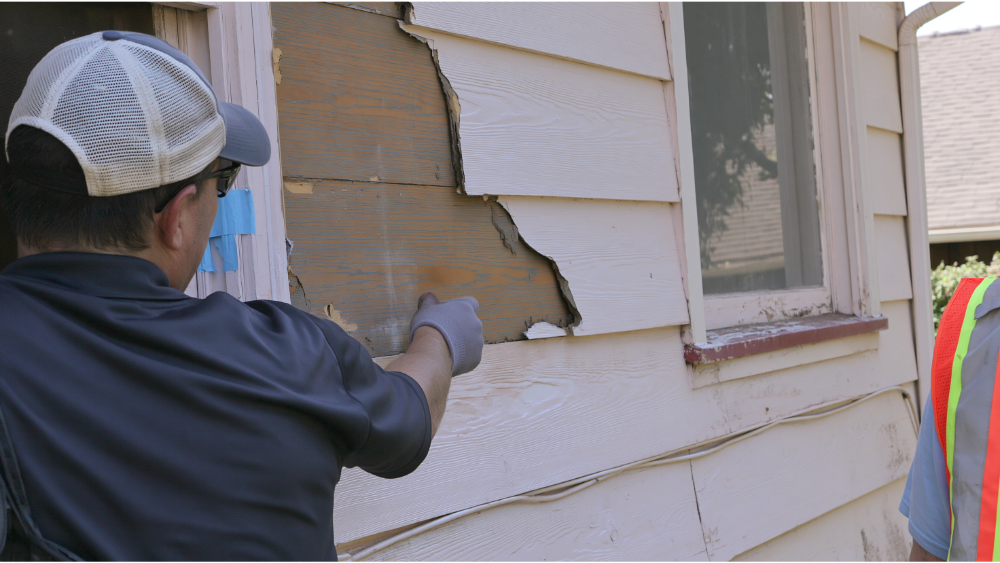
Nearly every T1 11 problem traces back to water reaching the wood and staying there. Understanding the specific failure points helps you judge whether your siding is aging normally or heading toward replacement.
Moisture absorption and unsealed edges
APA is direct about this: proper finishing protects the panels and reduces maintenance, and all edges should be sealed before installation with every cut edge sealed during installation. Unsealed edges wick moisture like a sponge. APA also recommends applying the first finish coat quickly, preferably within 2 weeks of installation, and warns that unprotected wood can show surface damage within 4 weeks of exposure. Panels that are primed at the factory should be top-coated within 60 to 90 days. Miss those windows and the wood starts breaking down before the paint ever gets a chance to protect it.
Bottom-edge rot
The bottom edge is where T1 11 fails most often, and it’s rarely one cause. APA installation guidance calls for a minimum of 6 inches of clearance from siding to grade. When panels sit too close to soil, or rain splashes back off pavement, the lower edge stays wet. Add an unsealed bottom cut, missing flashing, and poor drainage, and you get soft spots and spongy, rotting wood right along the base of the wall. This is also where a piece of Z flashing does real work, since Z flashing over horizontal joints and along the base directs water out and away from the panel instead of letting it soak into the exposed grain.
Failed paint, caulk, and stain
The finish is the barrier. Once paint peels, caulk cracks, or stain wears thin, water finds its way into seams and grooves. From there, deterioration accelerates. A wall that was stained rather than painted often needs recoating on a tighter schedule, because a semi-transparent stain wears faster than a solid oil based or acrylic paint film in full sun.
Swelling, delamination, and pests
Saturated plywood swells and its layers can separate, which is called delamination. Oriented strand board can blister and fray at the edges instead. Woodpeckers and boring insects also target aged wood siding, leaving holes that let in even more moisture.
UV, temperature cycling, and installation details
Sun and heat cycles break finishes down over time. Installation shortcuts make it worse. APA recommends 1/8-inch spacing at edge and end joints and hot-dip galvanized nails for most siding. Rusting fasteners and stained nail heads are often a sign the wrong nails were used or maintenance has slipped. Undersized or overdriven nails can also split the board or crush the face, giving water another way in.
Can T1 11 Siding Be Repaired, or Should You Replace It?
Not every damaged panel needs to come off. The right move depends on how deep the damage goes and whether you’ve fixed the water source that caused it. Here’s a practical way to sort it out.
| Situation | Reasonable path |
|---|---|
| Minor repair may be reasonable | Damage is isolated and surface-level, the board is still firm and in good shape (not soft), and you’ve corrected the water source (regraded soil, added flashing, resealed edges, repainted). |
| Panel replacement may be needed | A single sheet is swollen, soft, punctured, delaminated, or rotted through. That panel is done, but neighboring sections may still be sound. |
| Full siding replacement is worth considering | Damage shows up across multiple walls, bottom edges keep failing after repairs, paint no longer holds, you suspect water is getting behind the siding, or you want a lower-maintenance, fire-resistant exterior. |
The tipping point for many homeowners isn’t a single rot spot. It’s the pattern: the same repairs, year after year, that never fully solve the problem. When you’re spending money to chase failures, replacing the whole house exterior at once often costs less over the life of the home than doing the same fix repeatedly. Factor in the cost of scaffolding, prep, and repainting every few years, and the math frequently favors a durable material you install once.
One caution before you cut into anything: if your home was built before 1978 and the house was painted, disturbing that paint may trigger lead-safe requirements. We cover that in the Northern California section below, but it’s worth knowing before a repair turns into demolition.
Signs It’s Time to Replace T1 11 Siding
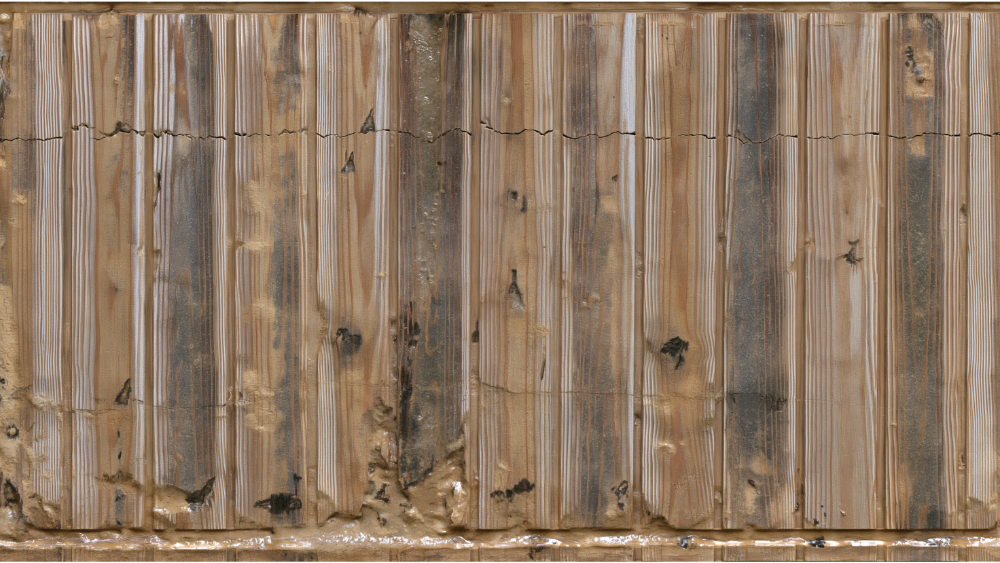
These are the visible and tactile symptoms that usually mean repair has run its course. If you’re checking several boxes here, especially across more than one wall, replacement deserves serious thought.
- Panels that feel soft or spongy when you press on them.
- Rot along the bottom edge.
- Swelling or bubbling of the board surface.
- Delamination, where the wood layers are separating.
- Paint that peels again shortly after every repaint.
- Open seams, split trim, or caulk that keeps failing.
- Dark staining near joints and grooves.
- Pest holes or a sawdust-like debris near the base.
- Rusted nails bleeding stains down the face.
- Panels pulling away from the studs and framing.
- Interior moisture signs (stains, musty smell) on the same wall.
- Repeated repairs that no longer hold, a sign of deeper structural damage.
What Northern California Homeowners Should Know
The general rules above apply everywhere. But the climate here changes how fast T1 11 wears and, in fire-prone areas, whether replacing it becomes a safety decision rather than a cosmetic one.
Valley heat and UV
Sacramento-area summers put constant UV and heat stress on your home’s exterior finishes. That’s exactly the pressure that breaks down the paint or stain protecting wood siding, and once the finish goes, the wood is exposed. Panels on south- and west-facing walls tend to chalk and fade first, which is why those elevations often need repainting sooner than the rest of the house.
Winter rain and moisture cycling
Wet winters followed by dry stretches soak and dry the wood repeatedly. This cycling is hard on bottom edges and joints, the very spots where T1 11 is most vulnerable. The same swelling and shrinking also works nails loose over time, which opens the fastener holes that let more water reach the core of the board.
Wildfire and WUI fire risk
For homeowners in or near Wildland-Urban Interface (WUI) areas, this is the section that matters most. CAL FIRE notes that combustible siding can provide a path for flames into vulnerable areas like windows, under-eave spaces, and vents, and it specifically flags gaps or penetrations larger than 1/8 inch, along with rot, as siding vulnerabilities. UC ANR frames two core wildfire concerns for siding: flames penetrating through walls into stud cavities, and flames spreading into the attic through soffits and eaves, where siding meets roofing details.
CAL FIRE recommends repairing gaps, holes, and rot, and considering replacement of combustible siding with a noncombustible or ignition-resistant option. If a full replacement isn’t possible right away, CAL FIRE suggests using noncombustible material for the bottom 2 feet and adding metal flashing to protect the bottom-edge sheathing underneath. T1 11 is combustible wood, so if you’re in a fire-prone zone, this moves fire resistance to the top of your replacement decision.
Check your Fire Hazard Severity Zone
CAL FIRE classifies areas as Moderate, High, or Very High fire hazard severity zones. These maps measure hazard (conditions over a 30 to 50 year horizon), not individual risk. State Responsibility Area data became effective April 1, 2024, and updated Local Responsibility Area maps rolled out in phases during 2025, which can matter for Sacramento-area properties. It’s worth checking your zone before you make a material decision.
Permits in Sacramento and Northern California
The City of Sacramento has an Exterior Siding Application for a Site Plan and Design Review exemption. Its form specifically recognizes existing grooved plywood siding and includes a pathway to replace it with smooth wood or cement fiber lap siding at a maximum 6-inch lap. This is a planning exemption path, not a blanket statement that no building permit is required. The current California WUI Code now lives in Title 24, Part 7, Chapter 5 (2025 cycle, effective January 1, 2026), and local jurisdictions can amend it. Always verify your project’s specific requirements with your local building department.
Older homes and lead-safe rules
The EPA’s Renovation, Repair and Painting (RRP) Rule applies to homes built before 1978 when painted surfaces are disturbed. The exterior minor-repair threshold is 20 square feet, but window replacement and demolition of painted surfaces are always covered regardless of area. If your older house has painted T1 11, a certified contractor keeps that work compliant and your household safer.
What to Replace T1 11 Siding With: Wood Siding, Vinyl Siding, and Fiber Cement
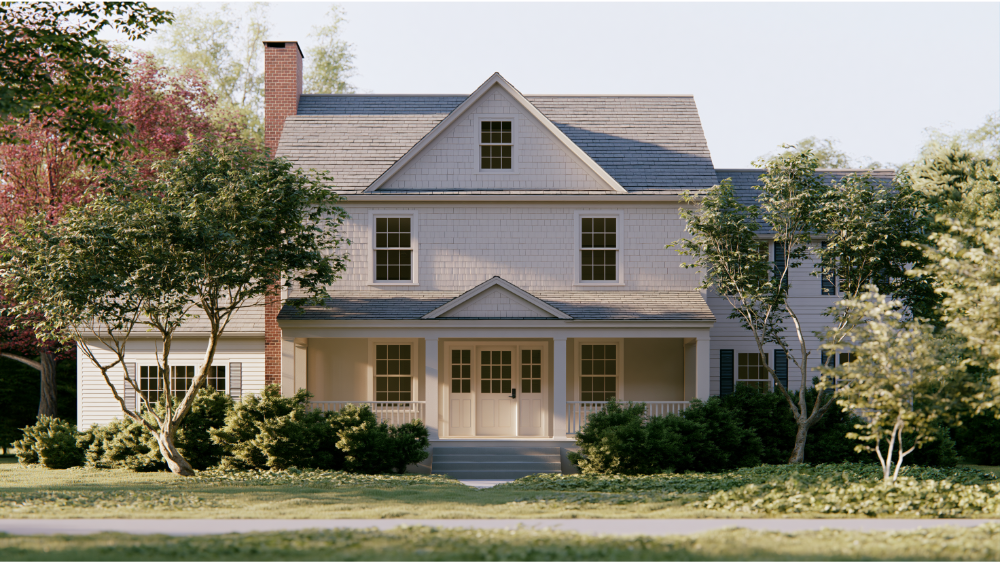
Several siding categories exist as replacement options, and it helps to weigh these other materials honestly. Here is how the main choices compare for a Northern California home:
| Replacement material | Maintenance | Fire behavior | Best-fit note |
|---|---|---|---|
| Real wood siding | High: brings back the same paint, stain, and rot upkeep you are trying to leave behind | Combustible | Authentic texture, but repeats the weaknesses of T1 11 |
| Vinyl siding | Low | Combustible; the plastic can warp in extreme heat | Low upkeep, but a real drawback for WUI properties and valley heat |
| James Hardie fiber cement | Low: holds a factory finish for years, no constant repaint-and-reseal cycle | Noncombustible in the wall assemblies studied by the Fire Safety Research Institute | The gold standard for Northern California and WUI areas; no siding makes a home fireproof |
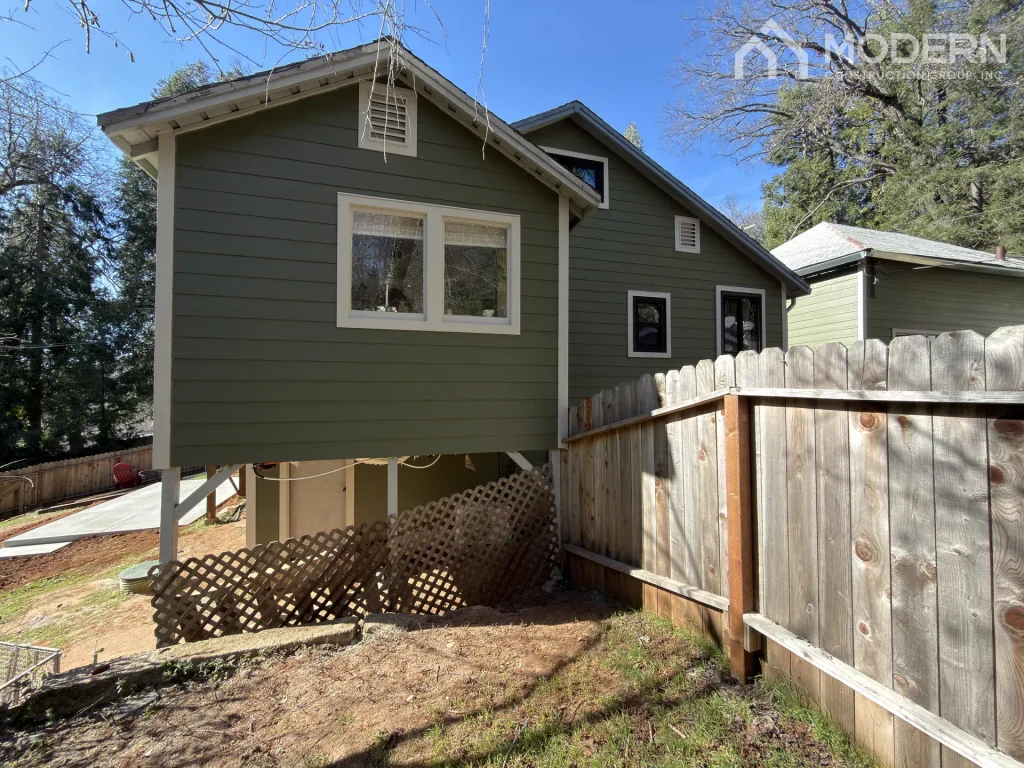
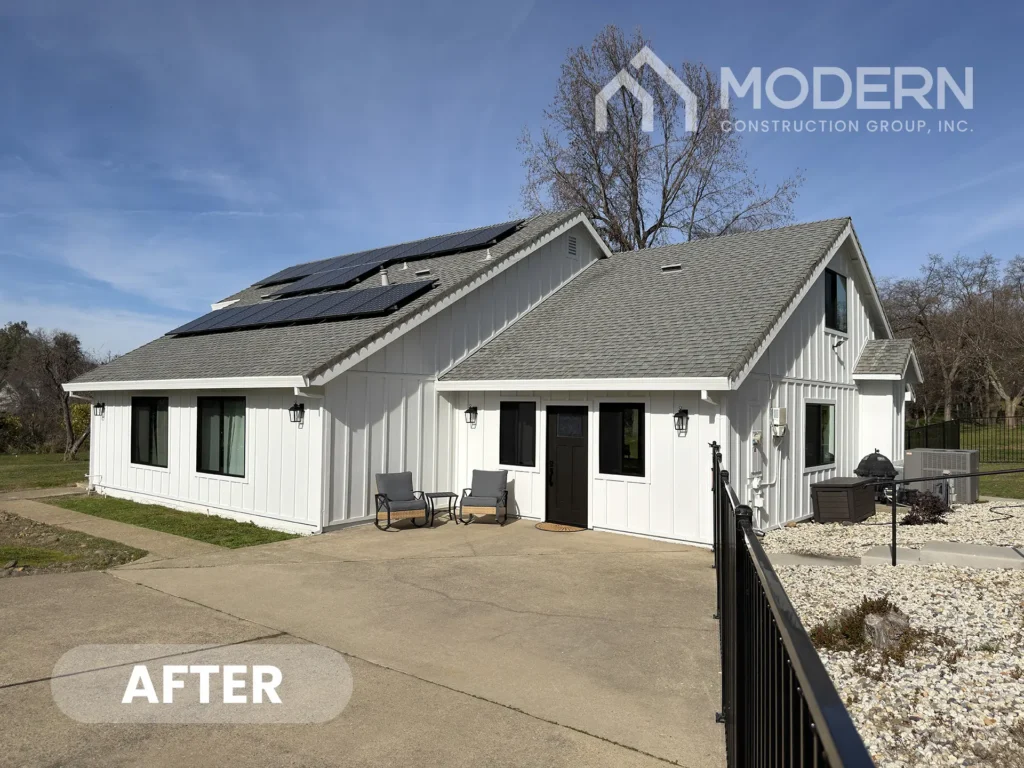
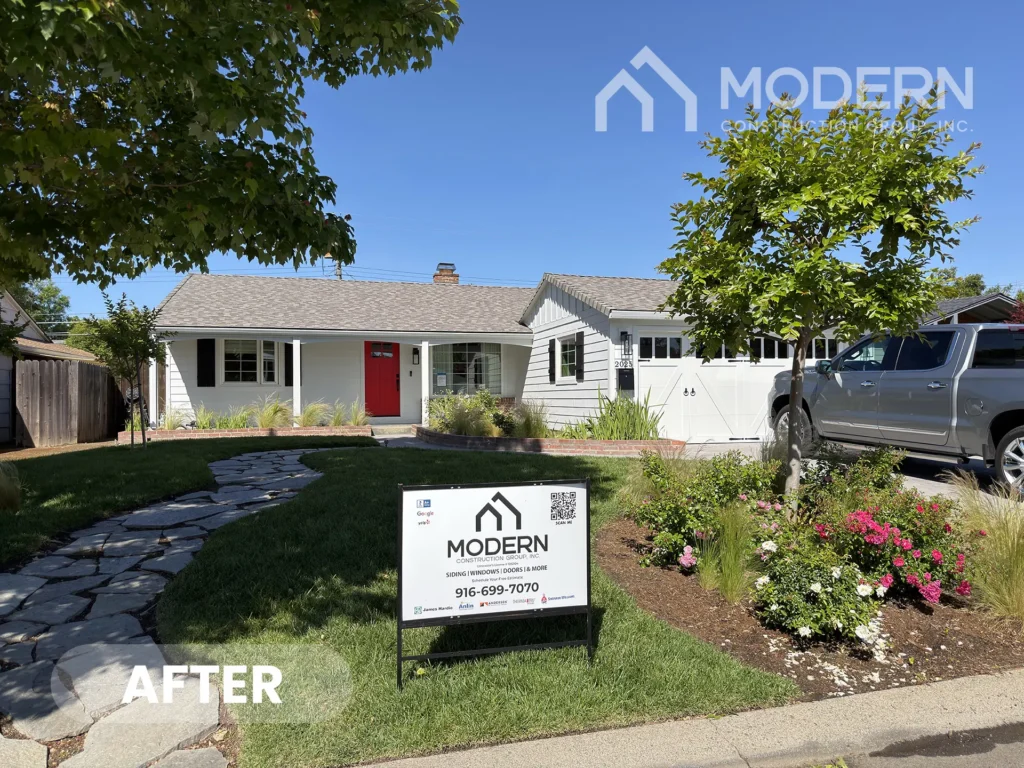
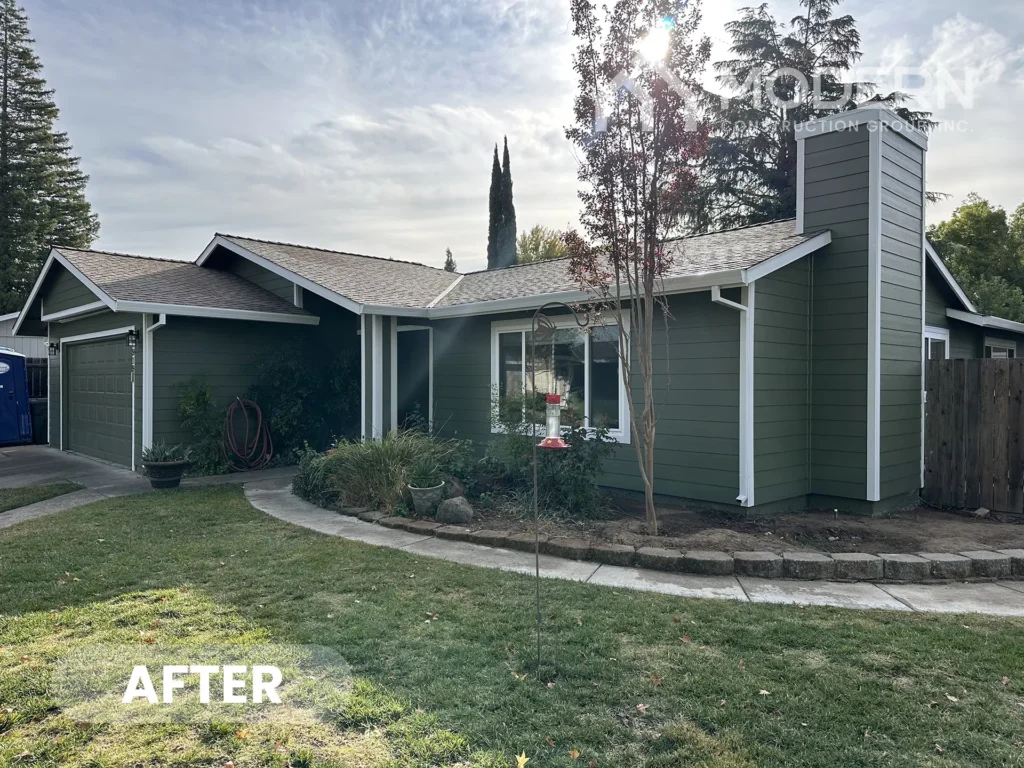
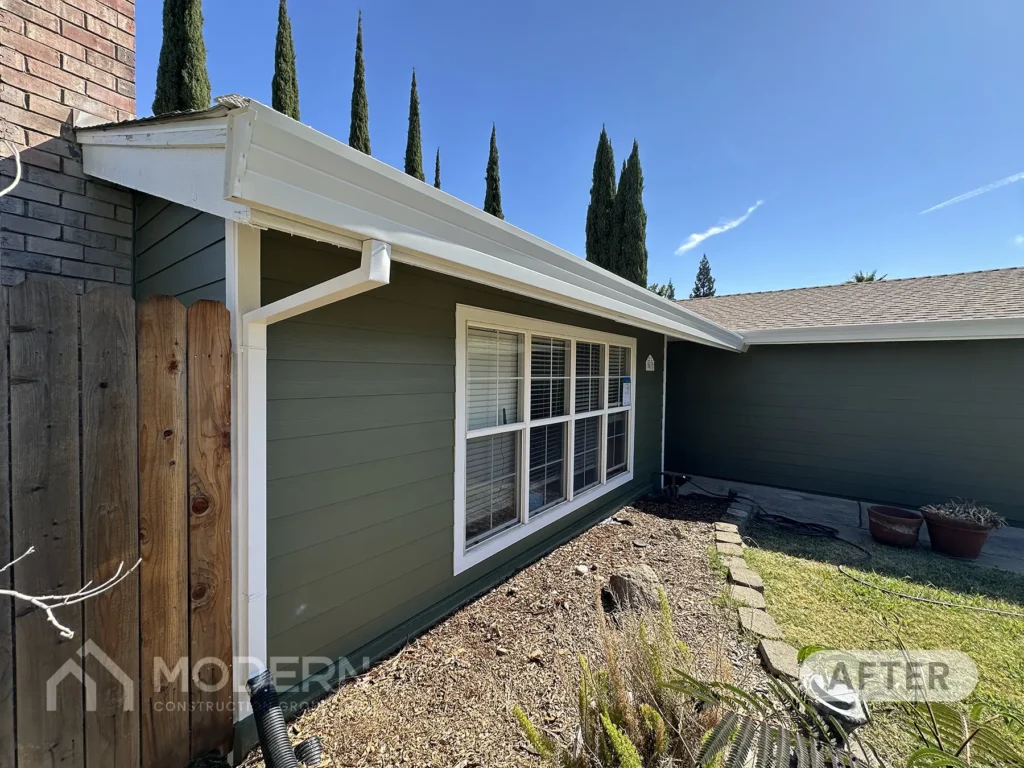
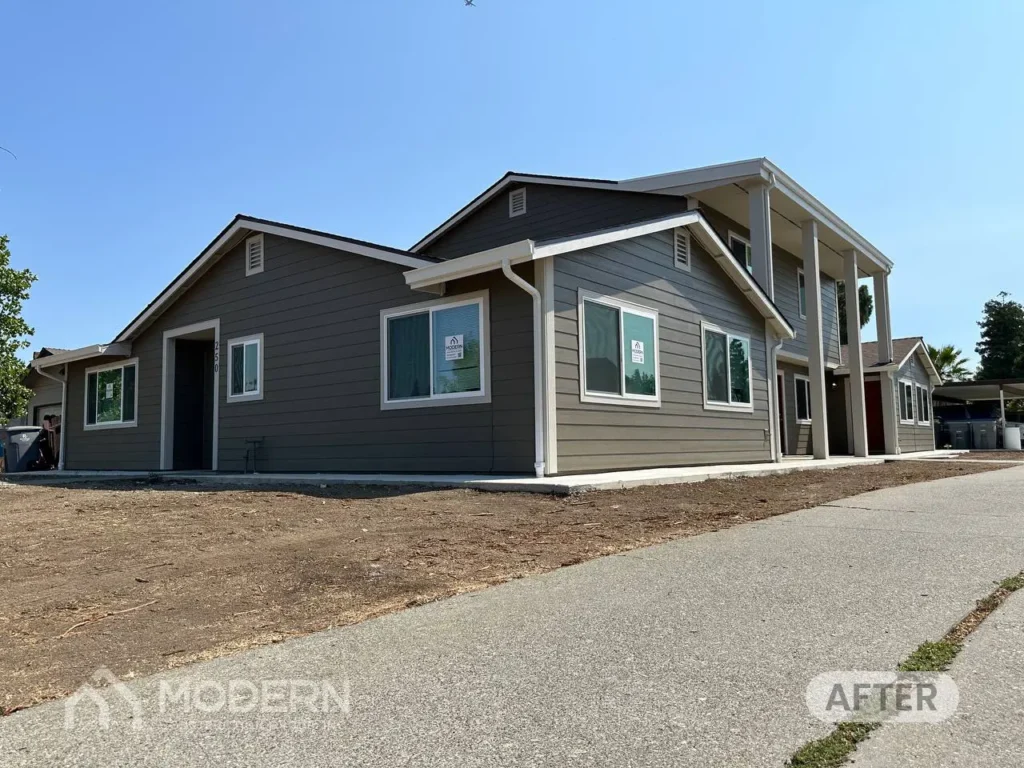
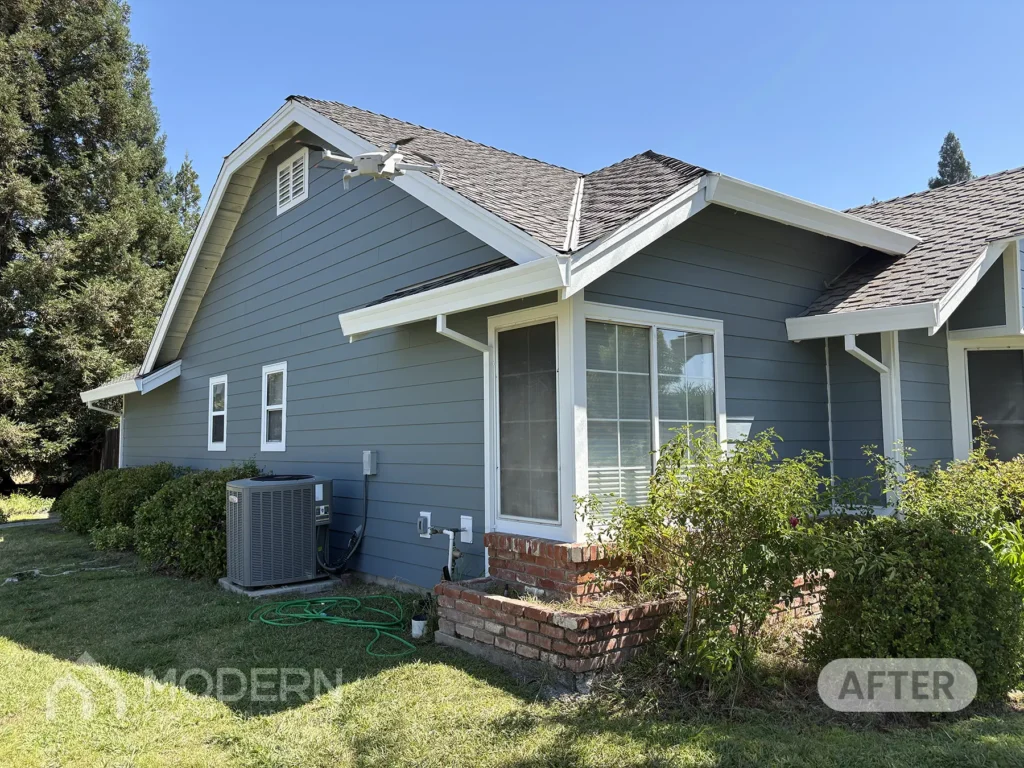
Real wood siding delivers authentic texture but brings back the same paint, stain, and rot maintenance you are trying to leave behind. Vinyl siding is low maintenance and quick to install, yet the plastic can warp in extreme heat and it is combustible, which is a real drawback for WUI properties. For Northern California homes, and especially for those in WUI areas, James Hardie fiber cement siding is the gold standard for durability, lasting beauty, and fire resistance. It’s the replacement path we focus on because it solves the exact weaknesses that make T1 11 fail and can save time on future upkeep.
Fiber cement doesn’t absorb water the way wood panels do, and it doesn’t demand the constant repaint-and-reseal cycle that grooved plywood needs to survive. Research from the Fire Safety Research Institute describes fiber cement as noncombustible in the wall assemblies studied, while T1 11 is combustible. That’s a meaningful difference here, though no siding makes a home fireproof. Unlike real wood or vinyl siding, fiber cement holds a factory finish for years and resists the swelling, splitting, and pest damage that shorten the life of engineered-wood panels.
The credentials back it up. The OSFM WUI Listed Products Handbook lists James Hardie fiber cement products under Category 8140 for exterior wall siding in WUI applications, including HardiePlank and HardiePanel entries. James Hardie states its fiber cement products carry a 30-year non-prorated warranty, and its ColorPlus® Technology finish carries a 15-year limited warranty covering paint and labor against peeling, cracking, and chipping. That fade-resistant, factory-applied finish means the wall never needs to be house painted on the old wood schedule, and it is a direct answer to the valley sun that wears finishes down. Matching trim boards, soffit, and flashing pieces are part of the same system, so the whole wall is protected rather than just the field panels.
One important note for fire-prone properties: WUI compliance is product- and assembly-specific. Not every panel or configuration qualifies the same way, so the exact materials and installation details need to be verified for your zone. That’s where certified installation stops being a nice-to-have.
Why Installation Expertise Matters, and Getting a Professional Assessment
Everything that kills T1 11 (unsealed edges, missing flashing, too little grade clearance, the wrong nails) is an installation detail. The same is true for its replacement. Fiber cement performs when it’s installed correctly, with proper Z flashing at joints, correct fastener spacing, and sealed corners and cuts, and that’s exactly why the certification behind the crew matters.
Modern Construction Group is a James Hardie Alliance Select Contractor, one of the select few installers certified by James Hardie for meeting the highest standards in installation expertise, customer service, and business practices. We’re licensed, bonded, and insured under California General Building License #1092104. That combination is the baseline you should look for in any contractor. CSLB requires a California contractor to be licensed when a project needs a permit, uses additional workers, or the labor and materials total $1,000 or more, and it sets the contractor bond at $25,000. Hiring licensed contractors protects your investment if anything goes sideways.
We’re family-owned, which means someone with a personal stake in the outcome is watching the details that determine how long your siding lasts. We back our installations with a 15-year workmanship warranty, and we’ve deliberately narrowed our focus to two things: James Hardie fiber cement siding and Anlin window and door replacement. Quality over quantity. Doing fewer things exceptionally well is how we make sure the edges are sealed, the flashing is right, the panels are installed level, and the grade clearance is correct the first time.
If you’re weighing repair against replacement, the smartest next step is a professional look at your actual siding. Get Your Free Estimate Today by calling (916) 699-7070. We’ll assess the condition of your T1 11, talk through your options, and help you make an informed decision for your home. Financing is available, so ask us about it when you call.
How long does T1 11 siding last?
Many homeowner guides describe well-maintained T1 11 as lasting decades, often around 20 to 30 years. That’s not a warranty or a universal standard, though. Real-world lifespan depends heavily on installation, finish quality, climate, and how consistently it’s maintained with fresh paint or stain.
Why does T1 11 siding rot at the bottom?
The bottom edge is the most exposed and most often neglected part of the board. Too little clearance from grade, splashback off pavement, unsealed cut edges, missing Z flashing, and poor drainage all let water sit there. APA recommends a minimum of 6 inches from siding to grade for this reason.
Can you repair rotted T1 11 siding?
Isolated, surface-level damage can sometimes be repaired if the panel is still firm and you correct the water source. Once a board is soft, swollen, delaminated, or rotted through, it usually needs replacement, and widespread failure across multiple walls points toward a full siding replacement.
Is T1 11 siding fire resistant?
No. T1 11 is combustible wood siding. In WUI areas, CAL FIRE points to combustible siding as a potential flame path, which is why many fire-conscious homeowners replace it with noncombustible fiber cement rather than wood or vinyl siding. Compliance is product- and assembly-specific, so verify details with your local building official.
Do I need a permit to replace T1 11 siding in Sacramento?
Possibly. The City of Sacramento has an exterior siding exemption path that recognizes grooved plywood and allows replacement with cement fiber lap siding under certain conditions. That’s a planning exemption, not confirmation that no building permit is needed. Always verify your project’s specific requirements with your local building department.