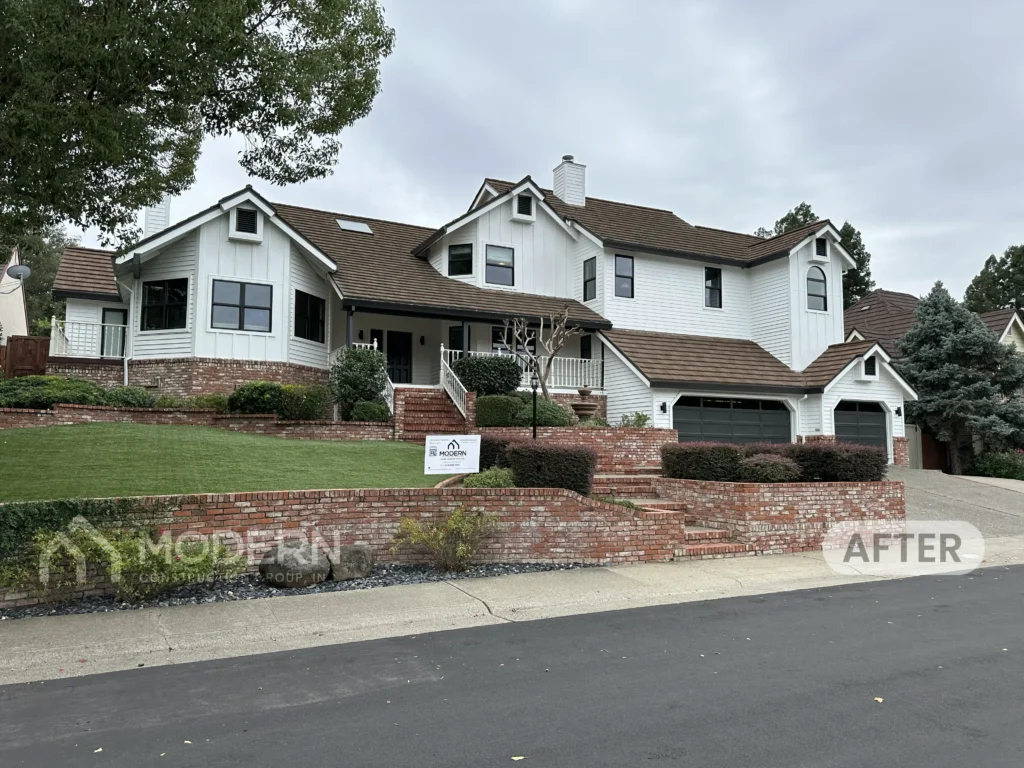
Key Takeaway
Attaching fiber cement siding correctly means using corrosion-resistant nails or screws blind-fastened 3/4 to 1 inch from the top edge of each lap board, driven into framing or an approved structural nail base. There is no single nailing pattern that works on every wall. The right fastener type, spacing, and method depend on your specific product, stud spacing, building height, and local wind-load requirements.
Fiber cement siding is attached with corrosion-resistant nails or screws, usually blind-fastened near the top edge of each lap board so the next course of siding hides the fastener. Those fasteners have to land in framing or an approved structural nail base, and the exact fastener, spacing, and method come from the product’s current installation instructions and from the local building codes your jurisdiction has adopted. There is no single nailing pattern that works on every wall.
We wrote this step by step guide for homeowners planning a re-side, and for anyone standing in the driveway wondering whether the work already done will hold. Fiber cement siding lasts for decades without constant upkeep when it is attached correctly. Attached poorly, it loosens, rattles, and stains within a few years, and your home’s exterior starts telling on the crew that built it.
How Is Fiber Cement Siding Attached? A Short Step by Step Guide
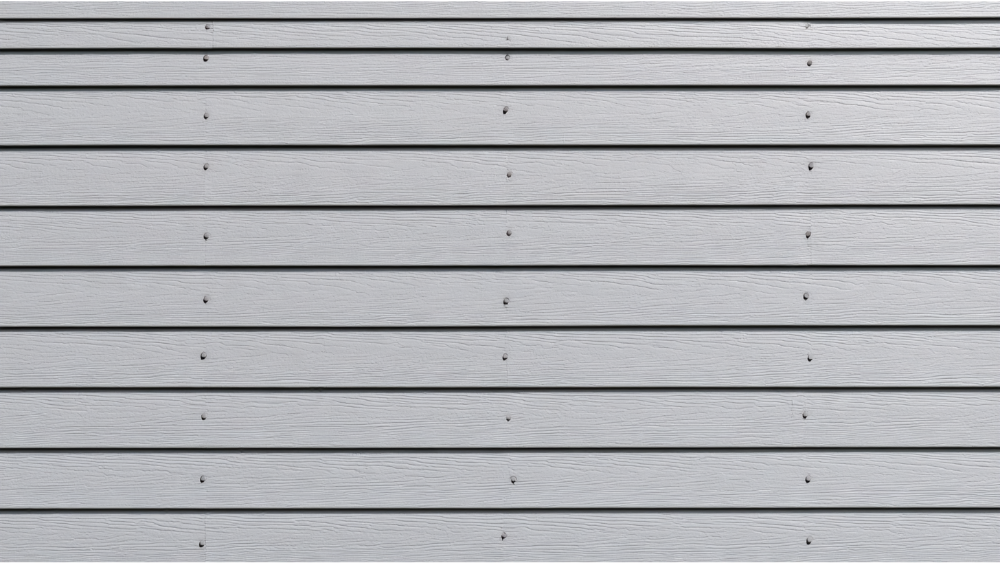
The sequence, compressed:
- Wall sheathing is inspected, dried out, and securely fastened back to the framing.
- A code-compliant water-resistive barrier, commonly called house wrap, goes over the wall sheathing, with flashing at every penetration and junction.
- Layout lines are snapped and a starter strip sets the angle of the first course of siding.
- Installation runs bottom up, first course level and clear of the ground.
- Blind fasteners are driven near the top edge of each siding plank into framing or an approved structural sheathing assembly.
- Each siding course overlaps the one below by the required amount.
- Butt joints are staggered course to course, landed where the system requires, and flashed behind.
Attachment is a system. The nail is the last decision in it, not the first.
Why There Is No Single Fastening Schedule for Fiber Cement Siding
Fiber cement is thicker than vinyl siding and heavier than wood siding. That weight, plus the wind pressure a wall sees, means attachment is engineered for the specific assembly rather than improvised on site. The correct fastener, its spacing, and whether it is blind or face driven all get selected for the wall in front of you.
Variables that change the answer:
- The specific product and plank profile
- Whether you install fiber cement lap boards, fiber cement panels, or vertical siding
- Plank or panel width
- Wood framing, steel framing, masonry, or approved structural sheathing
- Stud spacing
- Building height
- Wind exposure category and design wind speed
- Whether there is foam insulation or furring behind the siding
“Nail every 16 inches” is not a specification. It is a guess that happens to be right on some walls. James Hardie’s own quick-start guidance does not publish one universal table either. It directs installers to the applicable ICC-ES evaluation reports (ESR-1844 and ESR-2290, the latter reissued March 2026 and revised April 2026) and to local code documentation.
The 2024 International Residential Code is a model code. What legally governs your project is the edition your jurisdiction adopted, plus any local amendments. A competent installer reads the product instructions and the local building codes side by side, because when the two differ, the stricter one wins.
Lap Boards vs. Fiber Cement Panels
Most re-sides use horizontal lap boards, and almost everything in this guide describes how those fiber cement boards get fastened. Fiber cement panels are a different animal. They arrive as large sheets rather than narrow courses, so they are generally face fastened on a grid into framing instead of blind nailed at a top edge, and the approved spacing along the edges of the siding panels differs from the spacing out in the field of the panel.
That matters for anyone comparing bids on a modern elevation. Panel layout has to be planned around stud locations and batten placement before the first sheet goes up, and the vertical joints between fiber cement panels need the flashing and clearance details the instructions specify. A crew that fastens panels the way it fastens lap siding is guessing.
The Anatomy of a Correctly Attached Fiber Cement Siding System
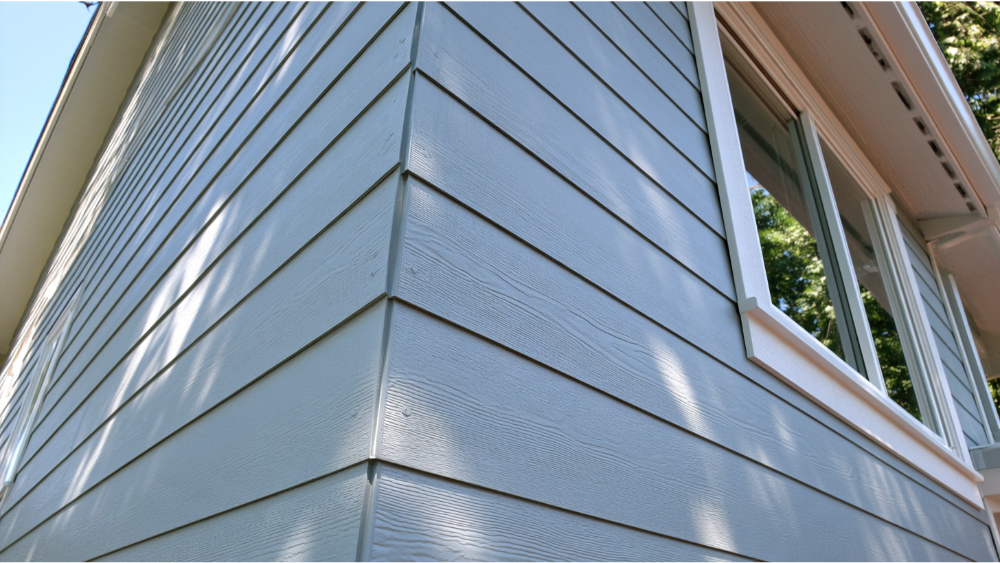
Working from the studs out, a correctly built wall has these layers:
- Framing or an approved nail base. This is what actually holds the siding to the house.
- Structural wall sheathing. Plywood or OSB that stiffens the wall and, in certain approved assemblies, serves as the nail base itself.
- Water-resistive barrier. The weather resistant barrier that protects framing and sheathing from anything that gets past the cladding.
- Flashing. A waterproof material installed at windows, doors, penetrations, and transitions so water is directed back out rather than into the wall. Kick out flashing where a roof edge meets a wall sends runoff into the gutter instead of behind the siding.
- Starter strip. Sets the kick angle for the first course of siding.
- Siding and fasteners. The visible layer and the hardware holding it.
- Joint treatment and clearances. Flashed butt joints, sealed vertical gaps, and the gaps that let the wall drain and the material move.
Every layer depends on the ones beneath it. Perfect nailing over a missing or badly lapped barrier still produces a wet wall, and no fastener schedule fixes that.
What Fasteners Should You Use to Install Fiber Cement Siding?
The fastener has to last as long as the siding does. That is the whole principle. A nail that corrodes bleeds rust down a freshly painted wall and loses its grip on the board, which turns a 30-year cladding into a repair project. The 2024 IRC requires exterior wall-covering fasteners to be corrosion-resistant, recognizing aluminum, galvanized, stainless steel, and rust-preventive-coated options, with nails and staples complying with ASTM F1667.
Galvanized Nails vs. Stainless Steel
Quality hot-dipped galvanized nails are the general recommendation in James Hardie’s published instructions. Stainless steel is recommended near oceans, large bodies of water, and in very humid environments where galvanizing gets a harder life. Electro-galvanized fasteners are accepted in certain applications but can show premature corrosion, so they are a narrower choice than they look. Generic interior nails, finish nails, and unapproved clipped-head fasteners do not belong on an exterior wall at all. The coatings are not rated for it, and the head geometry does not hold fiber cement boards the way approved siding nails do.
Nails, Screws, Nail Gun, or Hand Nailing?
Screws appear where the assembly calls for them. Steel framing, for example, requires at least three full threads of engagement in the cited Hardie instructions, and listed nail penetration into metal framing can be as little as 1/4 inch in applicable assemblies. One correction worth making, because plenty of articles get it wrong: hand nailing is permitted. A pneumatic nail gun is recommended, not required. Pneumatic siding nailers give better consistency across a wall, but tool pressure has to be set so heads seat snug rather than blowing through the surface of the board.
The HardiePlank HZ10 instructions list specific examples, and these are product- and assembly-specific, not universal specs: for blind nailing, a 2-inch siding nail (0.09-inch shank, 0.221-inch head) or an 11-gauge 1-1/4-inch roofing nail (0.121-inch shank, 0.371-inch head); for face nailing, a 2-inch 6d nail (0.113-inch shank, 0.267-inch head) or the same 2-inch siding nail.
Blind Nailing vs. Face Nailing Fiber Cement Siding
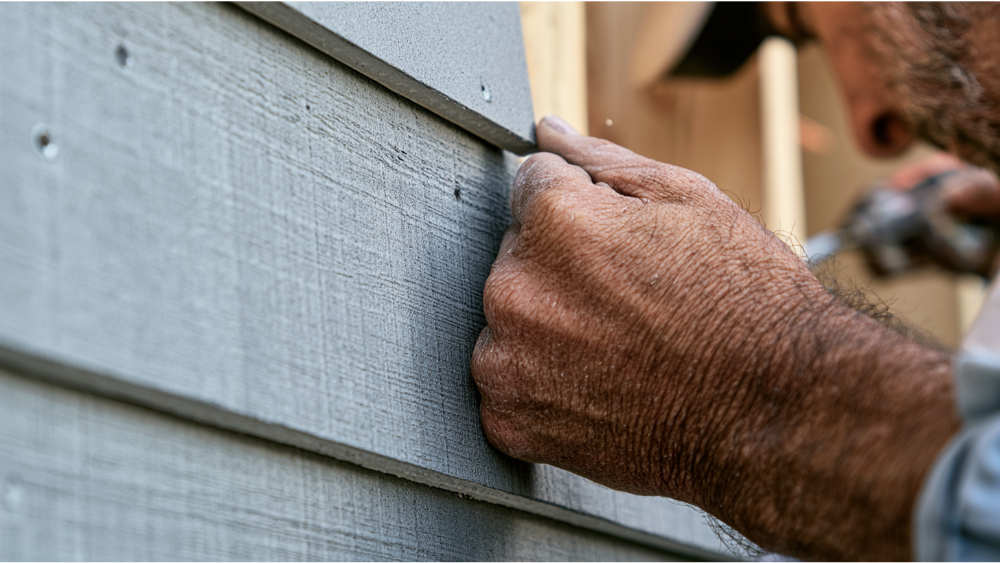
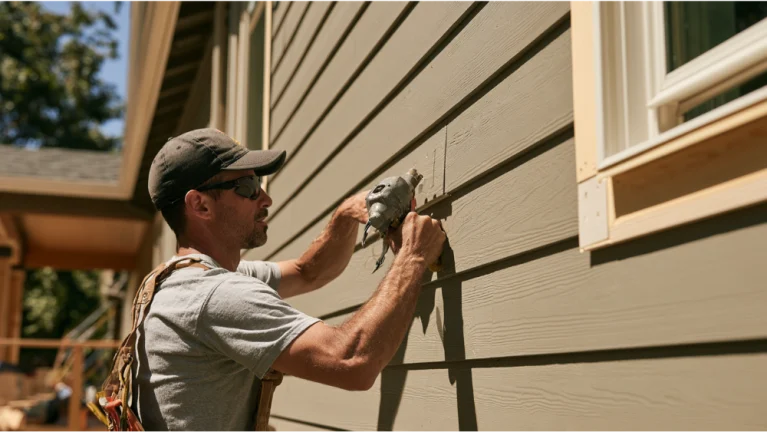
Blind nailing places the fastener near the top edge of each siding plank, where the next course covers it. Nothing shows on the finished wall. For HardiePlank lap siding, James Hardie identifies blind nailing as its preferred method.
Face nailing drives the fastener through the overlapping area of two courses, so the head stays visible until it is touched up.
Here is the part that puts nervous homeowners at ease: face nailing is not automatically a sign of sloppy work. It may be exactly what the approved wind-load schedule or the adopted local building codes require. FEMA’s windstorm resilience guidance supports face nailing through the overlapping board to improve fiber cement performance in high-wind conditions, and recommends terminating pieces at studs so fasteners can go in on both sides of a butt joint. Fiber cement siding holds up to heavy rain, high wind, and freezing temperatures, but only when it is fastened for the loads it will actually see.
What installers should not do is mix the two methods casually across a wall. James Hardie cautions against combining blind and face nailing outside its approved repair exception. If you see both on one elevation with no pattern to it, that is a fair question to ask.
Where Do the Nails Go? Correct Placement and Seating
For HardiePlank, the currently distributed instructions call for blind fasteners 3/4 inch to 1 inch from the top of the plank, and no closer than 3/8 inch from the plank ends. Fasteners are driven perpendicular to the siding and framing, with the head seated snug against the face of the board and no air gap underneath.
Those numbers are product-specific, but the reasoning travels. Get too close to the top edge, a habit called high nailing, and the fastener loses its bite on the board. The result shows up later as siding that sits loose, gaps that open at the laps, and a wall that rattles in wind. Get too close to the end of a board and you are likely to crack it, either during installation or the first cold season.
Correct vs. Incorrect Nail Seating
| Condition | What it looks like | What should happen |
|---|---|---|
| Correct | Perpendicular, head snug and flush, no air gap | Leave it |
| Underdriven | Head standing proud of the surface | Finish carefully with a smooth-faced hammer |
| Overdriven | Head crushes or countersinks into the surface | Correct per the manufacturer’s fastening diagram, never hide it with caulk |
| Angled | Head not seated evenly, one side buried | Correct per the manufacturer’s fastening diagram |
Do Fiber Cement Siding Nails Have to Hit the Studs?
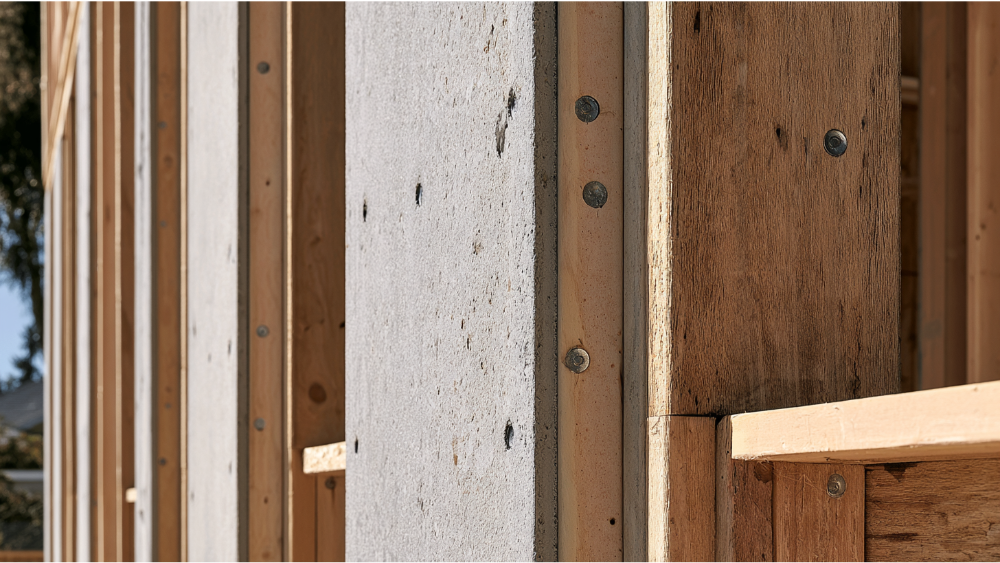
Usually framing, but not always. Some approved assemblies allow attachment directly to structural wall sheathing, which is why “always hit a stud” is an incomplete rule rather than a wrong one.
HardiePlank can be attached to wood or steel framing spaced up to 24 inches on center under applicable schedules. Certain direct-to-sheathing assemblies are recognized when the sheathing is at least 7/16-inch OSB and the fastener and spacing come from the applicable evaluation report. APA guidance similarly recognizes properly designed structural plywood or OSB as a nail base for qualifying lightweight claddings, with its Q250 guidance covering cladding at 3 pounds per square foot or less using the appropriate fastener substitution schedule.
The distinction that matters: structural sheathing can be engineered to hold the siding. Non-structural layers cannot.
Foam Insulation, Furring, and Rainscreen Walls
Foam, gypsum, and fiberboard are not nail bases. Under the 2024 IRC, fasteners must reach studs when the backing is fiberboard, gypsum, or foam plastic sheathing, and fiber cement siding installed over foam plastic sheathing must penetrate framing by at least 1-1/2 inches unless the manufacturer’s instructions provide an approved alternative. Furring strips over continuous insulation solve two problems at once. They create a rain screen drainage space, and they give the siding a flat surface to land on. Building America guidance recommends drainable or rainscreen assemblies behind wood siding and fiber cement siding for exactly that reason.
Fastening for Wind Resistance and Building Height
Wind-load tables are the reason the same siding plank can be fastened two different ways on two different houses. Design wind speed, exposure category, and building height all feed into the schedule. A sheltered single-story wall and an exposed second-story gable are not the same engineering problem, and the tables reflect that with different approved fasteners and tighter spacing.
Butt joints deserve specific attention here. On walls longer than a single plank, joints are unavoidable, and FEMA recommends terminating pieces at studs so fasteners can be installed on both sides of the joint, which keeps the two board ends from working loose independently in a gust.
Picking the right row out of a wind-load table is a code and engineering decision, not a field judgment call. That is precisely what product-specific installer training exists to cover, and it is one of the clearest dividing lines between a specialist and a generalist crew.
Preparing the Wall: Old Siding, Wall Sheathing, and the Moisture Barrier
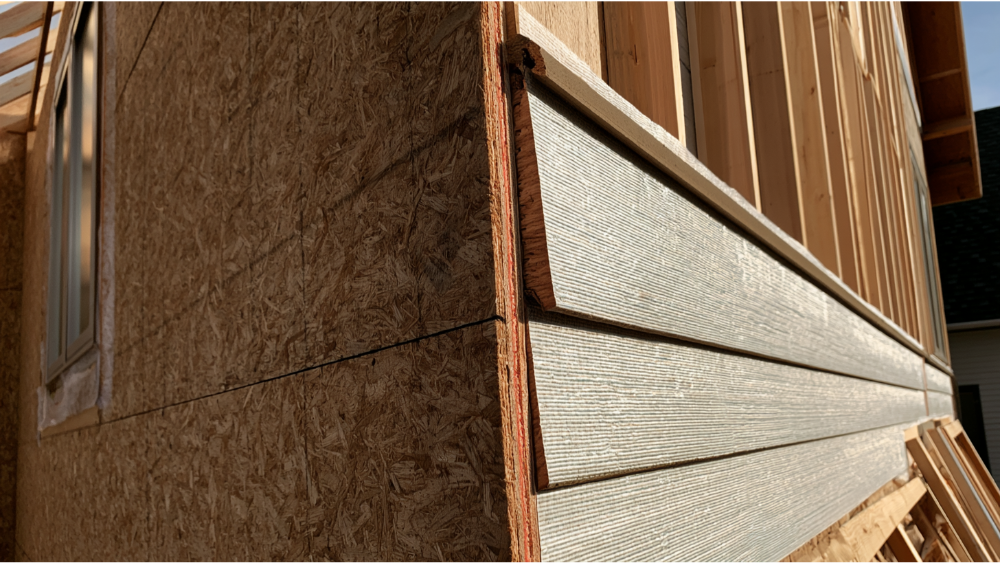
Old siding comes off first. That is what makes hidden rot, failed flashing, and loose or delaminated sheathing visible, and a re-side is the right moment to correct all of it rather than bury it under new siding. Fixing those problems while the wall is open is also most of what makes the rest a smooth installation process.
Once the wall is open, the wall sheathing gets inspected for damage, confirmed dry, and securely fastened back to the framing. Soft spots get replaced. Only then does the water-resistive barrier go on, installed shingle-style and integrated with flashing at every window, door, penetration, and junction, so every one of those wall openings drains outward.
Fastening cannot rescue a wall that was never made watertight. Everything above this step assumes the barrier beneath it is doing its job.
The First Course: Starter Strip, Clearances, and Layout
The first course sets every course above it. If it is off by a quarter inch at one end of the wall, that error compounds all the way to the roofline.
A starter strip establishes the angle of the first course so the bottom edge of the siding kicks out over the one below. The cited Hardie instructions use a 1-1/4-inch starter strip, with a 1/4-inch gap left between the siding and the starter. Corner boards and trim boards, fiber cement or solid wood, go up before the field courses so the siding can be cut to them cleanly. Outside corners and inside corners both get their trim set first for the same reason.
Layout gets planned with a story pole, a marked stick that maps every course from the starter to the roofline before a single board goes on. Course heights and trim locations get marked on the wall from that pole, and siding gauges keep each course consistent as the wall goes up. Good layout lands courses sensibly at window trim rather than leaving a two-inch sliver above a header. That planning is the difference between a wall that reads as a seamless installation from the curb and one where every compromise lines up at eye level.
Clearances are functional, not cosmetic. A minimum 6 inches between the siding and the ground keeps splashback and soil contact off the bottom edge. Gaps at trim and openings give the material room to move. Sealing those gaps shut because they look unfinished is one of the more common ways a good installation gets undone later.
Cutting Fiber Cement Siding Safely (Tools, Dust, and Cut Edges)

Fiber cement is dense and brittle, so it needs specific tools, and cutting fiber cement releases respirable crystalline silica, a known carcinogen. Both facts shape how a job site is run.
Circular Saw, Shears, and Diamond Blades: Tools That Cut Fiber Cement Boards Cleanly
A circular saw fitted with diamond blades made for fiber cement handles straight runs, and the better setups pair the saw with a dust collection port and a shroud over the blade. Diamond blades matter more than horsepower here. A standard carbide wood blade dulls almost immediately and leaves a ragged, chipped edge that never sits tight against trim. Fiber cement shears cut with far less dust than any saw and are the quieter choice on an occupied street. A table saw is not the default for on-site work. Cutting fiber cement boards upside down leaves the cleaner edge on the visible face, and every cut edge should be primed or sealed with latex paint before the board goes on the wall, because a raw cut edge is the easiest point of water intrusion into the material.
Curved Cuts Around Fixtures and Penetrations
Curved cuts are their own skill. Hose bibs, light fixtures, dryer vents, and meter bases all need a curved cut that a circular saw cannot follow, so those go to shears, a jigsaw with the right blade, or a carbide-tipped hole cutter. Leave the proper clearance the instructions call for instead of forcing a tight friction fit, since fiber cement needs room to move and the gap gets sealed or flashed afterward.
Silica Dust Controls and Dust Masks
OSHA’s construction standard sets an action level of 25 micrograms per cubic meter and a permissible exposure limit of 50 micrograms per cubic meter, both as eight-hour time-weighted averages. NIOSH recommends a dust-collecting circular saw connected to a vacuum with at least 30 CFM of airflow through a hose at least 1.25 inches in diameter. In NIOSH testing, properly configured saw-and-vacuum systems removed at least 81% of hazardous dust. Cut outdoors in a well ventilated area, and wear an N95 dust mask or respirator along with safety glasses.
A dust mask is the last line of defense, not the first. Engineering controls come first, which is why a vacuum-connected saw and diamond blades rated for fiber cement do more for a crew’s lungs than any dust mask alone. If you are a homeowner cutting a single replacement board, the same order applies: control the dust at the blade, work outside, then put on the dust mask.
Butt Joints, Flashing, and Caulking: What Goes Where
This is where a lot of otherwise decent installations go wrong. Butt joints get joint flashing behind them, not a bead of caulk smeared across the face. James Hardie recommends 6-inch-wide joint flashing extending 1 inch onto the course below, and ColorPlus® butt joints specifically should not be covered with visible caulk. Caulk on a factory-finished face is obvious, it shrinks, and it does not drain water the way flashing does. Flashing behind all the joints is the standard, not an upgrade.
Butt joints land over framing where the system requires it, and they are staggered from course to course so no two joints stack into a vertical seam that channels water.
Caulk does have a job. It belongs at vertical gaps where siding meets window and door trim, and at penetrations such as vinyl mounting blocks. It is not a substitute for flashing, and it is not filler for an overdriven nail head or a cracked plank end. Horizontal surfaces and required clearances stay open. Sealing them shut traps the water the assembly was designed to release.
Common Mistakes When You Install Fiber Cement Siding
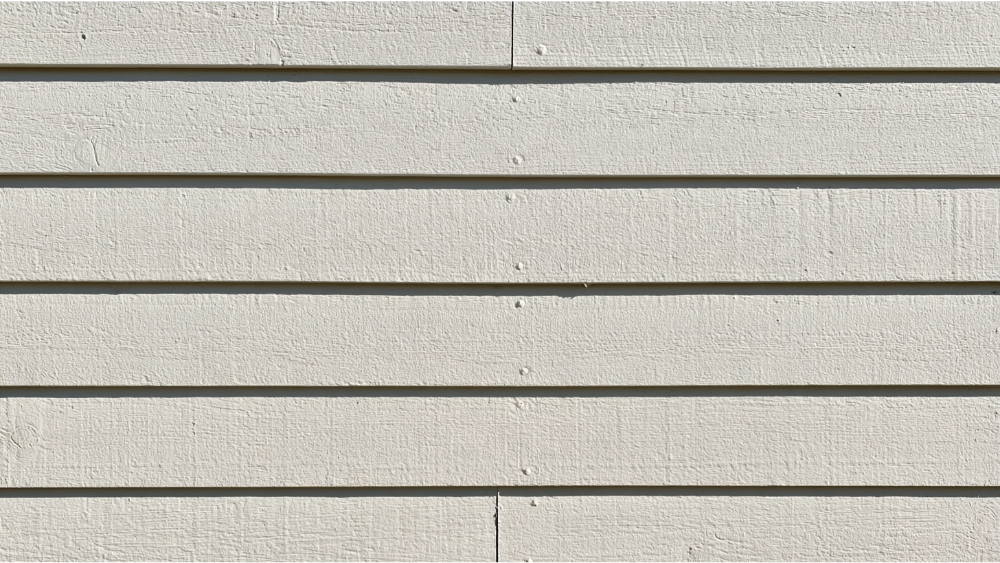
- Wrong or non-corrosion-resistant fastener. Rust stains on the face, weakened attachment within a few years.
- Missing framing or fastening to an unapproved substrate. The siding is held by nothing structural and will eventually sag or pull.
- Nail gun pressure set too high. Overdriven heads crush the board and cut holding power at every fastener.
- High nailing. Fasteners too close to the top edge produce loose siding, open laps, and rattling in wind.
- Less than 3/8 inch of edge distance. Cracked plank ends, sometimes not visible until months later.
- Cutting with the wrong blade. Without diamond blades, edges chip and joints never close tightly against trim.
- Missing or misplaced joint flashing. Water gets behind the siding at the one detail most likely to leak.
- Ignoring ground and horizontal-surface clearances. Wicking at the bottom edge and no path for the wall to drain.
- Re-fastening a loose plank with a random face nail. A repair has an approved method; improvising one usually creates a second problem.
- Using caulk to mask fastening problems. It hides the symptom and guarantees nobody corrects the cause.
A Homeowner’s Checklist for Judging Siding Installation Quality
Walk your house with this list. You can evaluate what is visible from the ground.
- Siding lies flat against the wall surface with no waviness or bulging.
- Courses stay level across the elevation and the reveals are even from board to board.
- No widespread exposed, overdriven, or rust-stained fasteners.
- Butt joints are staggered, supported, and flashed rather than caulk-smeared.
- Ground clearance and roofline clearances are maintained, not sealed shut.
- Nothing rattles or moves when you press lightly on a board.
- Your installer can tell you which product installation instructions, which local building codes, and which wind-load schedule they used. That last one is the strongest test on the list.
Be honest about the limit here. You can judge visible workmanship. You cannot evaluate the water-resistive barrier, the flashing, or the wall sheathing condition without opening the wall, which is a large part of why the crew you choose matters more than the inspection you perform afterward.
Caring for Your New Fiber Cement Siding After Installation
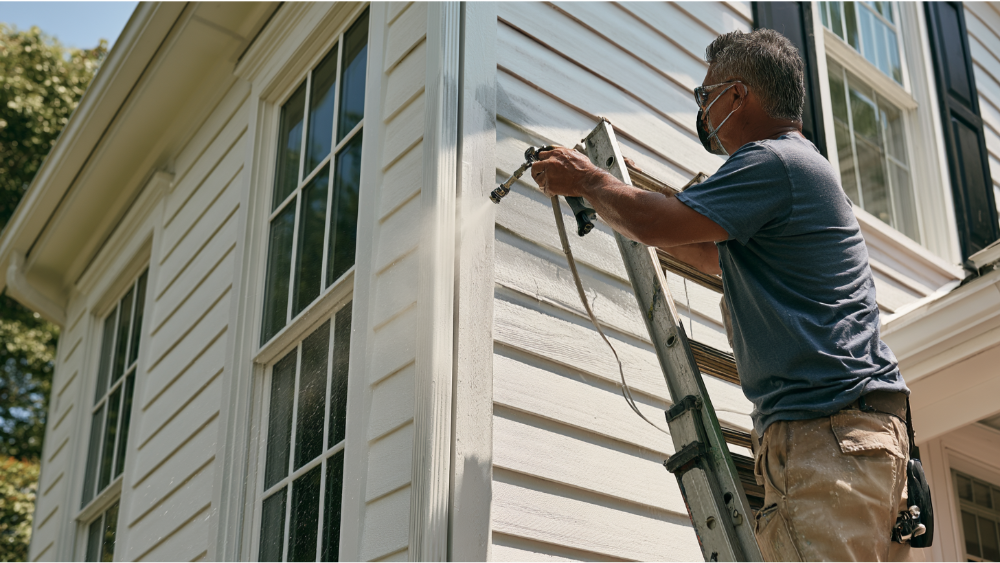
Maintenance stays light when the attachment and detailing were done right. Rinse the siding with a garden hose and wipe it down with a soft cloth once a year. Check the caulking around windows and doors annually and refresh it where it has opened up. Keep gutters clear so overflow is not running down the wall. Painted surfaces generally want repainting every 10 to 15 years, though ColorPlus® Technology’s fade-resistant finish is designed to hold its color far longer than a field-applied coating. A 30-year material warranty is available on James Hardie products, which tells you what the material itself is built to do.
Why Certified Installation Expertise Matters for Fiber Cement Siding
Every decision in this article belongs to the installer: which product instructions apply, what the adopted local building codes require, which wind schedule governs, whether the substrate is an approved nail base, how the barrier and flashing are integrated, and whether each head is seated snug. All of it affects how the wall performs in year fifteen, and much of it affects warranty protection.
Fiber cement earns its reputation because it is non-combustible, fire resistant in WUI areas, and carries the look of real wood siding with the strength of cement. It is thicker than vinyl siding and feels it. None of that survives careless attachment.
We are a family-owned company, and we chose to master two disciplines rather than offer dozens. Quality Over Quantity. Modern Construction Group is a James Hardie Alliance Select Contractor, one of the select few contractors certified by James Hardie for installation expertise, customer service, and business practices, and an Anlin Authorized Dealer. We hold California General Building License #1092104 and are licensed, bonded, and insured, with a 15-year workmanship warranty behind our installations and over 25 years of experience.
Frequently Asked Questions
What fasteners should be used for fiber cement siding?
Corrosion-resistant, galvanized, or stainless steel nails or screws approved by the manufacturer for that specific product and assembly. Hot-dipped galvanized is the general recommendation, with stainless steel recommended near oceans, large bodies of water, and in very humid environments. The HardiePlank instructions list examples such as a 2-inch siding nail or an 11-gauge 1-1/4-inch roofing nail for blind nailing, but dimensions change with the product, substrate, and wind schedule.
Is it better to nail or screw a Hardie board?
Neither is universally better; the approved fastening schedule decides. Nails are standard on wood framing, and pneumatic nailing is recommended though hand nailing is permitted. Screws show up where the assembly calls for them, such as steel framing, which requires at least three full threads of engagement in the cited Hardie instructions.
What tools do you need to cut fiber cement siding?
A circular saw with diamond blades and dust collection for straight runs, and fiber cement shears for lower dust and for curved cuts around fixtures and vents. Add an N95 dust mask, safety glasses, and hearing protection. Cutting fiber cement outdoors with a vacuum on the saw keeps respirable silica down, and every cut edge gets primed before the board goes up.
Do you caulk fiber cement siding?
Yes, but only in specific places: where siding meets vertical trim and at penetrations such as mounting blocks. Butt joints call for joint flashing instead, 6 inches wide and extending 1 inch onto the course below. ColorPlus® butt joints should not be covered with visible caulk, and caulk is never an acceptable fix for an overdriven fastener.
What is the best way to attach Hardie siding?
Blind nailing near the top of each plank into framing or an approved nail base is the preferred method for HardiePlank lap siding, with face nailing used where the wind schedule or adopted code requires it. Fasteners go in perpendicular and seated snug, 3/4 inch to 1 inch from the top and at least 3/8 inch from the ends, over a properly detailed water-resistive barrier with flashed butt joints.
Get a Free Estimate for Your Fiber Cement Siding Project
You want a home’s exterior that protects and enhances your most important investment for decades, installed by people who can tell you exactly which instructions and which schedule they followed. That is the work we do. As a James Hardie Alliance Select Contractor holding California General Building License #1092104, licensed, bonded, and insured, we will walk your walls and give you a straight assessment before you commit to new siding.
Get Your Free Estimate Today. Call (916) 699-7070 or reach out through our site to schedule. Financing is available, and we are happy to go over the options with you. Learn More About Siding.